.png)
How to Prepare Walls for Painting Like a Pro
- Dan Hall
- Sep 1, 2025
- 13 min read

Learning how to prepare walls for painting is the real secret to getting that professional, crisp finish. It’s all about cleaning, repairing, sanding, and priming long before you even think about cracking open a tin of colour. If you rush the preparation, you'll pay for it later with visible bumps, patchy spots, and even peeling paint.
The Foundation of a Flawless Paint Job
Most people get excited about choosing the perfect shade but completely underestimate the prep work. Here’s a hard truth from years in the trade: the final look and durability of your paint job is 90% down to the quality of your preparation. Skipping a few steps might save you an afternoon, but every single shortcut will show up on the finished wall. You’ll end up with flaws that are a nightmare to fix once the paint is on.
Getting this foundation right ensures your paint sticks properly, looks completely uniform, and lasts for years. It's the difference between a project you can be proud of and one that needs redoing far too soon.
Key Preparation Phases
Clearing and Cleaning: This is about creating a spotless surface. You need to get rid of any dust, grime, or grease that could stop the paint from adhering. Our in-house services can handle this deep clean for you.
Repairing and Sanding: This is where you create your perfectly smooth canvas. Filling any holes, cracks, or dents is non-negotiable if you want a professional-looking result.
Priming for Perfection: A quality primer is your best friend. It seals the surface, blocks any pesky stains from showing through, and ensures your chosen colour looks true and even.
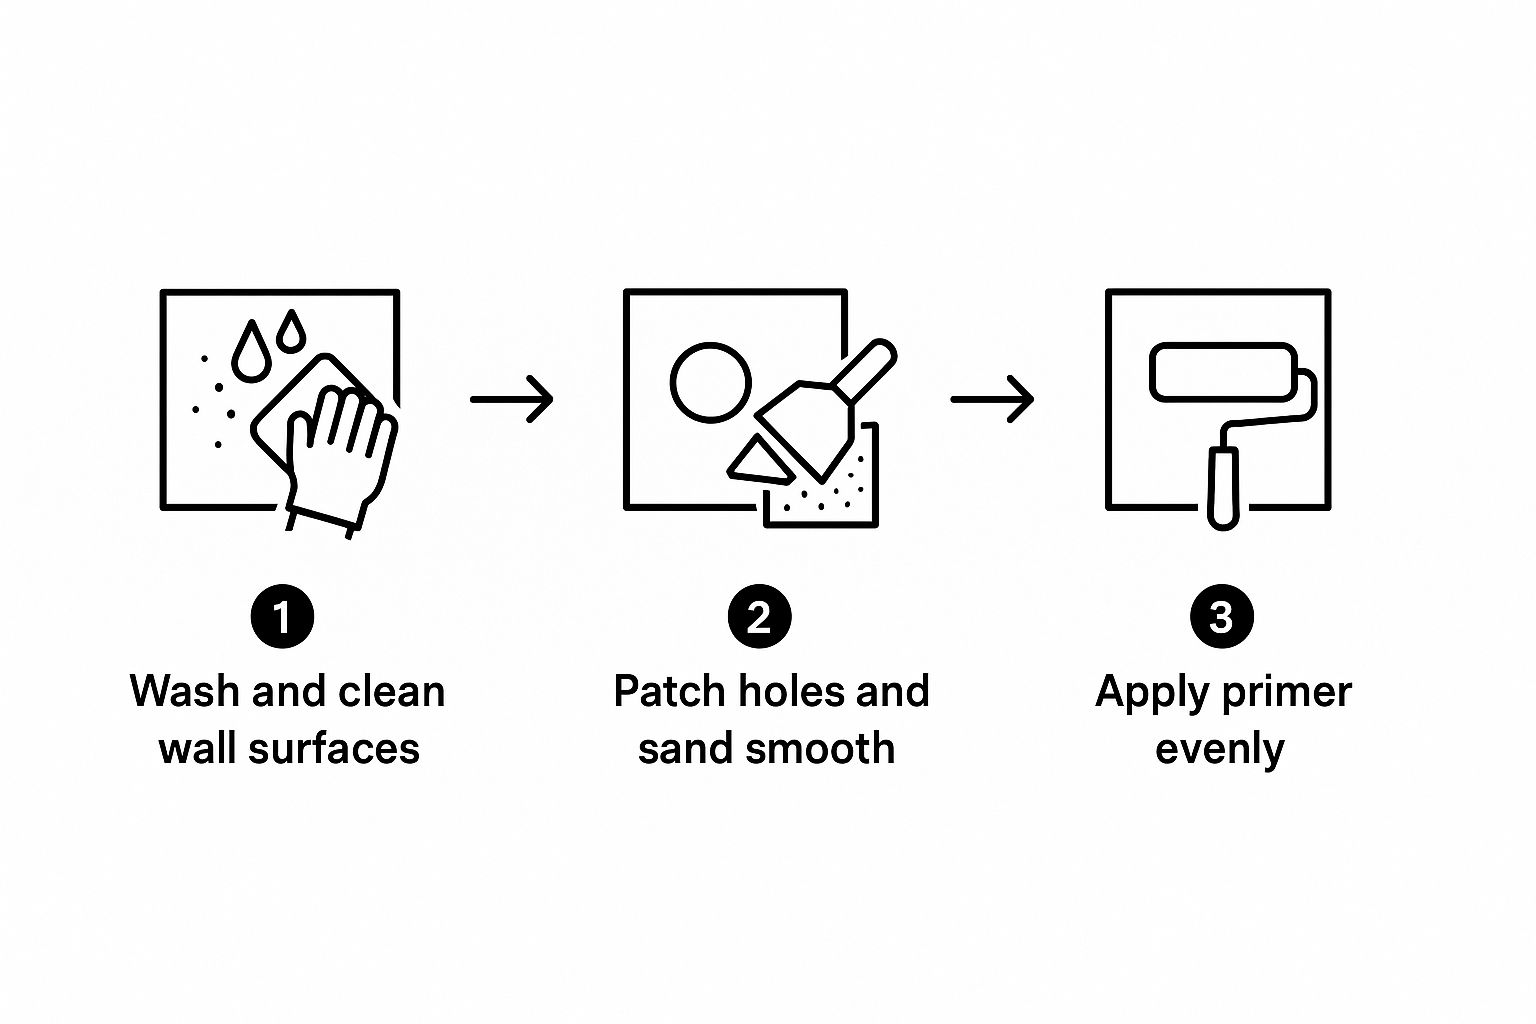
Here's a quick overview of how these stages fit together, making the whole process of how to prepare walls for painting much more manageable.
Wall Preparation at a Glance: The Five Key Phases
Phase | Primary Goal | Why It Matters for Your Finish |
|---|---|---|
Clear the Room | Create a safe, workable space | Prevents damage to furniture and ensures you have room to move without accidents. |
Clean the Walls | Remove dirt, grease, and dust | Guarantees the primer and paint can bond directly to the surface for a long-lasting finish. |
Repair & Patch | Fill holes, cracks, and dents | Creates a perfectly smooth, flawless canvas. Without this, every imperfection will be highlighted by the new paint. |
Sand Smooth | Feather out repairs and scuff the surface | Ensures filled areas blend seamlessly and gives the primer something to grip onto. |
Prime the Surface | Seal the wall and block stains | Provides a uniform base for your topcoat, ensuring true colour and an even sheen. |
Seeing it laid out like this really drives home that each step builds on the last, setting you up for that perfect, durable finish.
Tackling wall preparation correctly transforms it from a simple chore into the most critical part of your project. Think of it as laying the groundwork for your home's entire aesthetic—a small investment of time upfront pays huge dividends in the final look and longevity.
The pros know this better than anyone. In the UK, hiring a decorator for a single room can cost around £400, and a huge chunk of their 1-2 day project time is spent on nothing but prep. Sanding, filling, priming—it's what they spend most of their time on. When you see how much time the experts dedicate to it, the importance of not cutting corners becomes crystal clear.
If the job feels a bit too much, remember that our in-house services are here to handle it, guaranteeing a perfect canvas every time. For those keen to learn more, this a comprehensive guide to surface preparation for painting is a great resource. You can also see how painting fits into the wider project by checking our guide on the costs to renovate a house: https://www.hallmoore.co.uk/post/how-much-to-renovate-a-house-in-the-uk.
Creating Your Clean Canvas
Before a single drop of paint hits your walls, you have to create a perfectly clean canvas. This isn't just a quick wipe-down; it's about methodically clearing the space and deep-cleaning every surface to guarantee the paint sticks properly. Think of it like washing a car before you wax it—any dirt you leave behind gets trapped right under the new finish.
First things first, clear the room. The best-case scenario is to move all furniture out completely. If that's not possible, gather everything into the centre of the room and cover it, and the floor, with good quality dust sheets. This simple act saves you from the headache of accidental paint splatters and protects your belongings from dust when you start sanding. Don't forget to take down any pictures, mirrors, or shelves.
Next up, tackle the fixtures. This means carefully removing light switch plates, socket covers, and any wall-mounted lights. Always turn off the electricity at the consumer unit before you even think about touching electrical components. A great little tip is to tape the screws to the back of each plate so they don't vanish into thin air.
Choosing Your Cleaning Solution
The right cleaner really depends on what your walls have been through. For most rooms with just a bit of dust and a few light scuffs, a simple solution of sugar soap mixed with warm water does the trick. It’s a decorator’s go-to in the UK for a reason—it cuts through grime beautifully without leaving a residue that can mess with your paint.
However, some rooms need a bit more muscle:
Kitchens: Over time, cooking creates a greasy film that paint absolutely hates. You'll need a proper degreasing cleaner to shift it. Our in-house services can handle this for you.
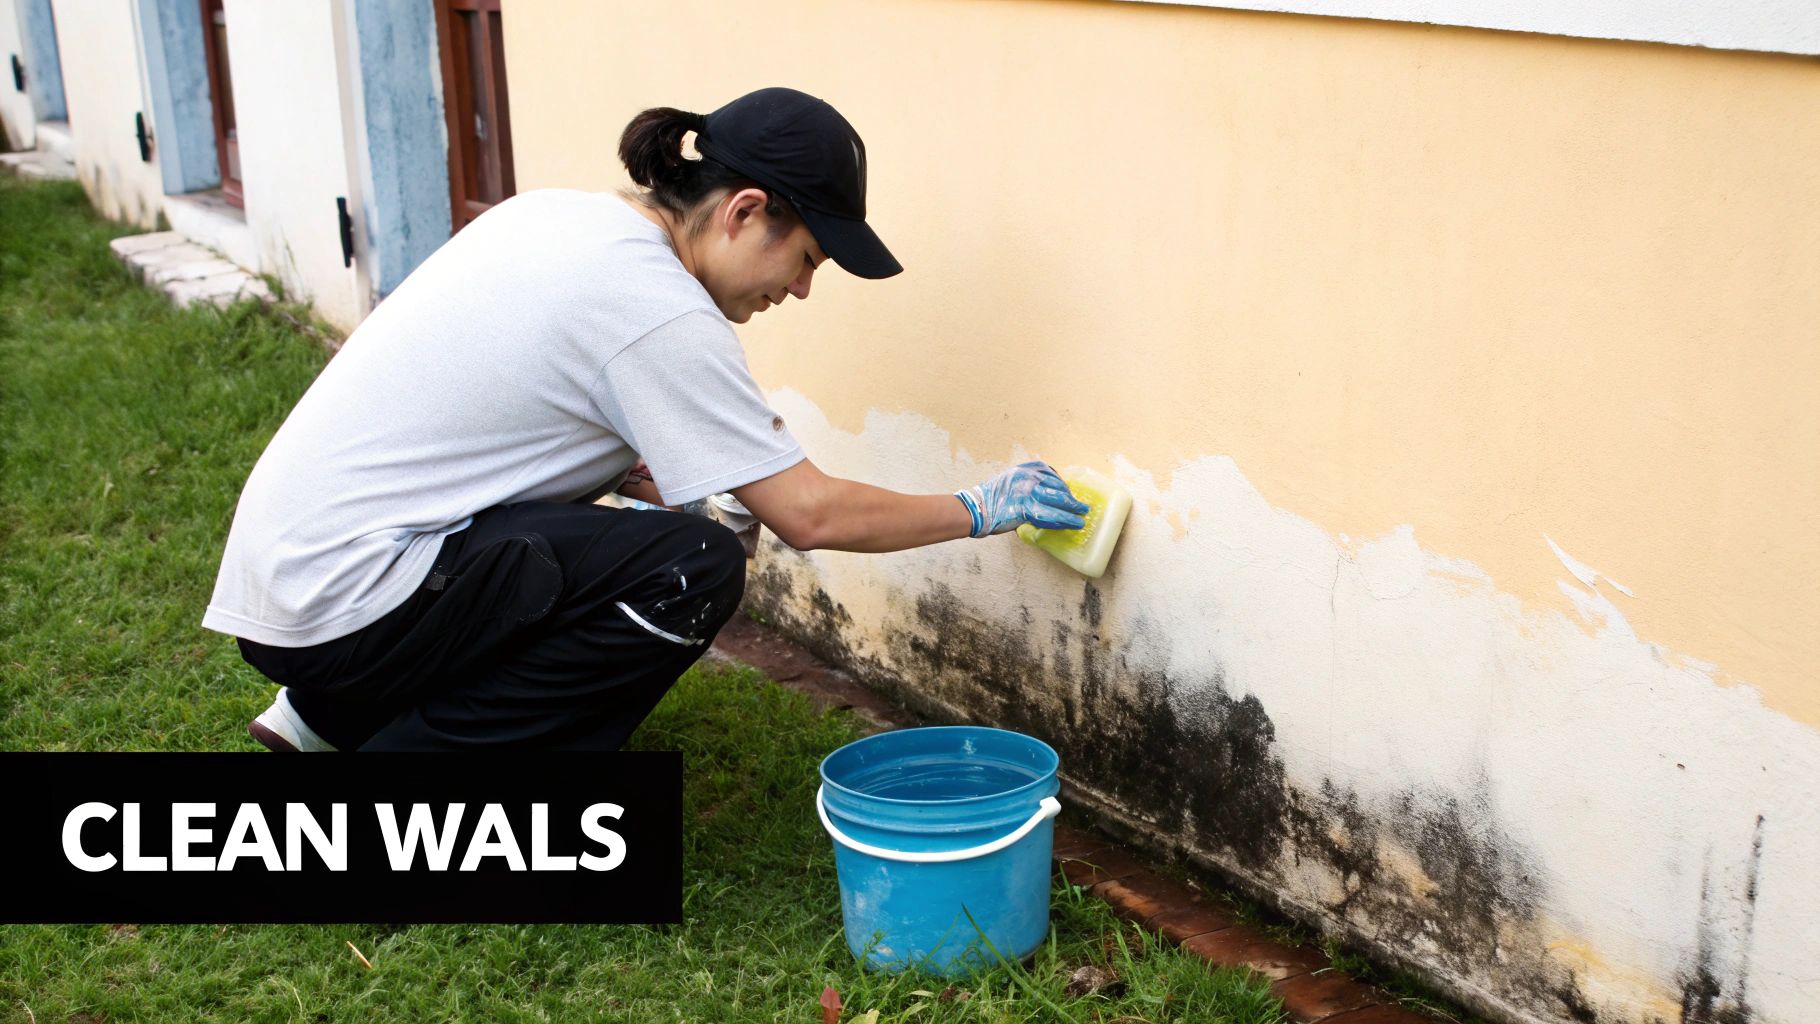
Bathrooms: High humidity is a breeding ground for mildew spots. Use a fungicidal wash designed to kill the spores, which stops them from creeping back through your lovely new paint job.
When you start washing, begin at the bottom of the wall and work your way up. It sounds counterintuitive, but this technique stops dirty streaks from running down over the bits you've just cleaned. Once you're done, give the wall a final rinse with a fresh sponge and clean water to get rid of any leftover cleaner.
A thoroughly cleaned and completely dry wall is the absolute cornerstone of a durable paint job. Paint applied over dust or grease is up to 50% more likely to peel or blister within the first year, completely undoing all your hard work.
Ensuring a Perfectly Dry Surface
After rinsing, you need to let the walls air dry completely. This can take a few hours, so patience is key here. You can speed things along by opening a window or using a fan, but avoid pointing a heater directly at the wall, as it can trap moisture underneath the surface.
Run your hand over the wall; it should feel totally dry, with no cool or damp spots. For walls that are particularly grubby, or if you'd just rather leave the initial prep to the experts, you could consider bringing in professional deep cleaning services. Taking these steps seriously ensures your primer and paint will bond correctly, giving you that flawless, long-lasting finish you're after. This is a crucial part of how to prepare walls for painting and should never be skipped.
Repairing Imperfections For A Smooth Surface
With your walls now clean, it’s time to deal with their history. Every nail hole from a previous picture gallery, every scuff from moving furniture, and any minor cracks all need to go before you can create that perfect canvas. This is the stage where you transform a tired, blemished surface into one that looks brand new.
It’s a common mistake to think that a good quality paint will hide these flaws. It won’t. In fact, a fresh coat of paint will only highlight every bump and crack, making them even more obvious. Taking the time to properly fill and smooth these imperfections isn’t just a good idea—it’s essential for a professional finish.
Choosing The Right Filler And Tools
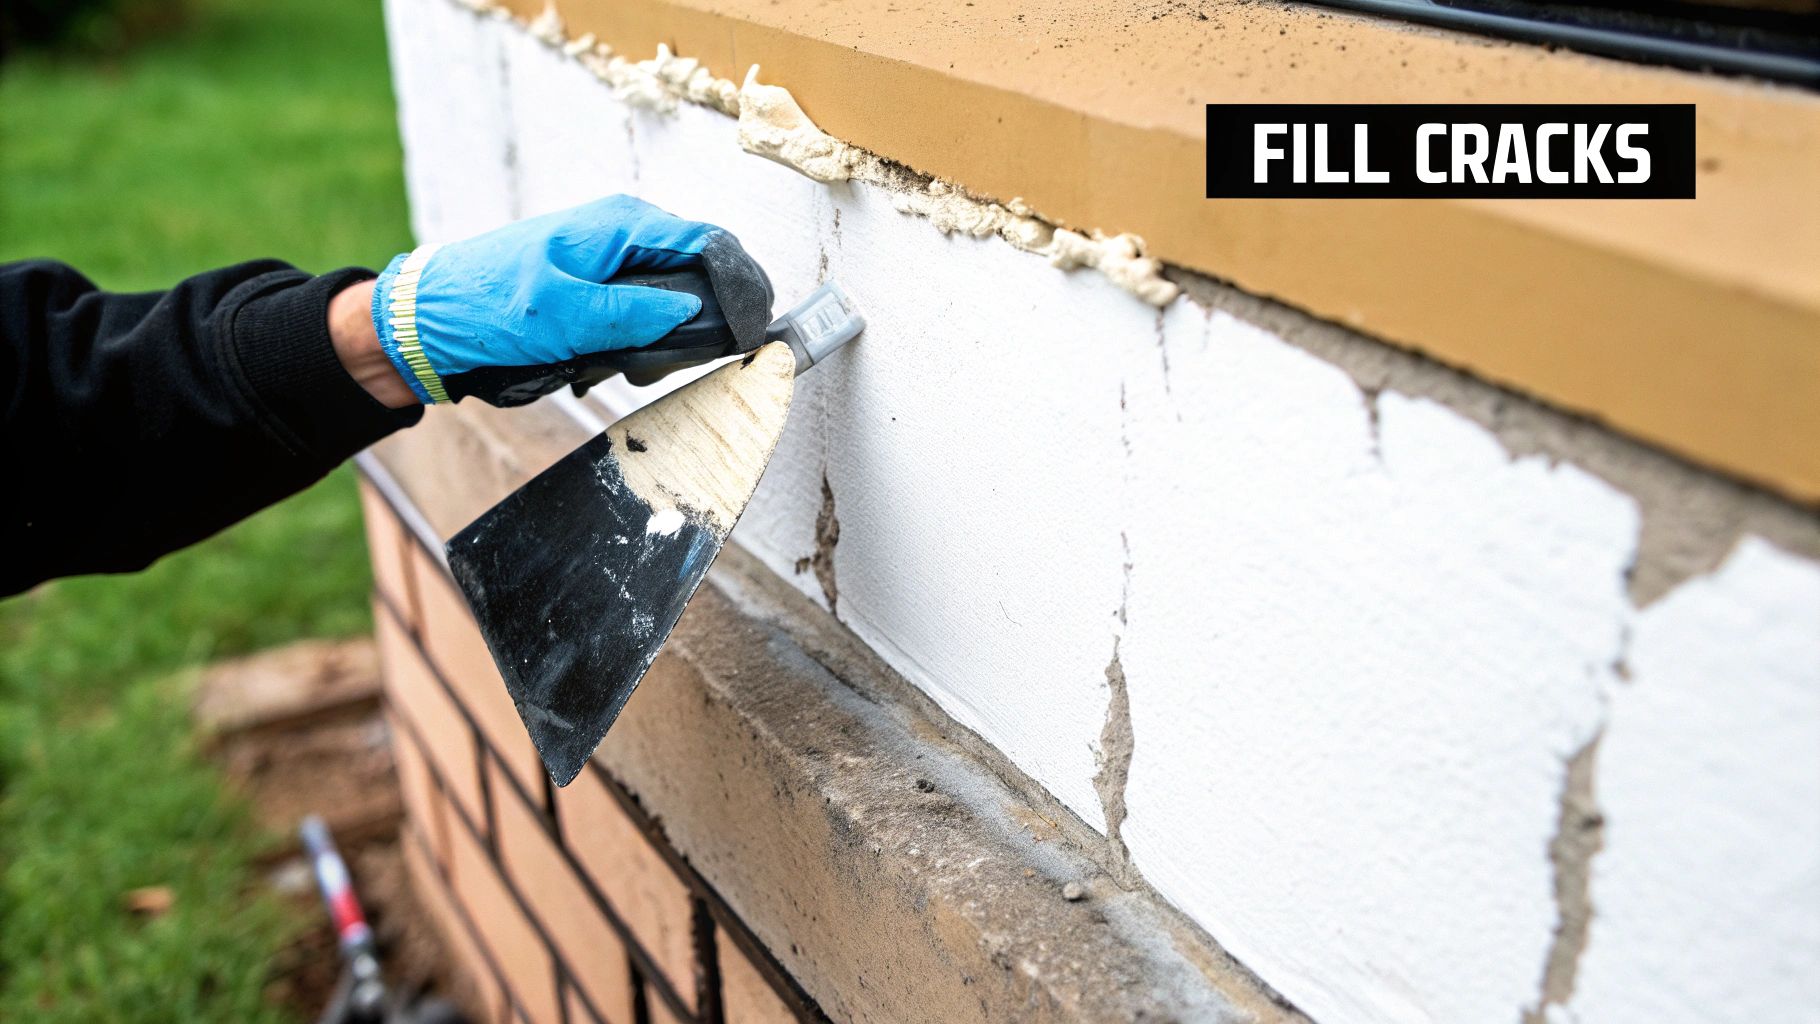
The filler you choose really depends on the job at hand. You wouldn't use a sledgehammer to crack a nut, and the same thinking applies here. For tiny pinholes or hairline cracks, a lightweight spackle is your best bet. It’s easy to work with, dries quickly, and is a breeze to sand smooth.
For larger holes or more serious cracks, you’ll need something with a bit more muscle, like a multi-purpose filler. These are much more robust and can be built up in layers for deeper repairs without shrinking or cracking as they dry. Your go-to tool for this is a flexible putty knife; it gives you the control to press the filler into the hole and feather the edges perfectly.
The secret to an invisible repair is feathering the edges. This means applying pressure to the putty knife at the edges of your patch, thinning the filler so it blends seamlessly into the surrounding wall. This simple technique makes sanding significantly easier and the final result flawless.
A Practical Guide To Applying Filler
First, scoop a small amount of filler onto your putty knife. Press it firmly into the hole or crack, making sure you fill the entire void. Here’s a pro tip: slightly overfill the repair so the filler sits just proud of the wall. This accounts for any minor shrinkage as it dries and gives you enough material to sand back for a perfectly flush finish.
If you’re dealing with a deeper hole, don't try to pack it all in at once. You’ll need to apply the filler in thin layers, letting each one dry completely before adding the next. This prevents the filler from cracking and guarantees the repair is solid all the way through. Once you’ve applied the final layer, use a clean, damp cloth to wipe away any excess from the surrounding wall before it has a chance to dry.
Unfortunately, some problems are more than skin deep. If you find crumbling plaster, persistent damp patches, or large cracks that keep coming back, these could be signs of a more serious underlying issue. For example, if you suspect moisture is the culprit, it's worth exploring some water damage prevention tips to protect your walls long-term.
Persistent dampness often requires professional help, and understanding the https://www.hallmoore.co.uk/post/uk-damp-proofing-cost-guide-find-out-the-true-cost-of-damp-proofing can help you budget for a proper solution. For these complex challenges, bringing in one of our in-house services is the wisest move. Our experts can diagnose the root cause and ensure the wall is structurally sound before any cosmetic work begins.
The Art of Sanding and Priming
With your walls repaired, you’ve reached the bridge between fixing and finishing. Sanding and priming are the two steps that make all the difference, creating that flawlessly smooth, uniform surface your new paint colour deserves.
Rushing this stage is like building a house on a shaky foundation—the final result will never look as good as it could.
Why Sanding Is Non-Negotiable
Sanding isn’t just for those freshly filled patches. It’s a vital step for the entire wall, especially if the existing paint has a satin or gloss finish. These sheens are designed to be durable and slightly non-porous, which means new paint will struggle to get a good grip.
A light sand, or 'keying' the surface, scuffs it up just enough for the new coat to bond properly. It's a trick every professional painter has up their sleeve for a long-lasting, high-quality finish.
This isn't just my opinion; it’s a widely recognised step for achieving a professional, durable finish here in the UK. Industry advice consistently points to lightly sanding walls with fine-grit sandpaper to knock down minor imperfections. Afterwards, wiping the walls with a damp cloth to clear away the dust is crucial before you even think about priming. You can find more great insights on getting a pro finish at The Paint Shed.
Getting Sanding Right
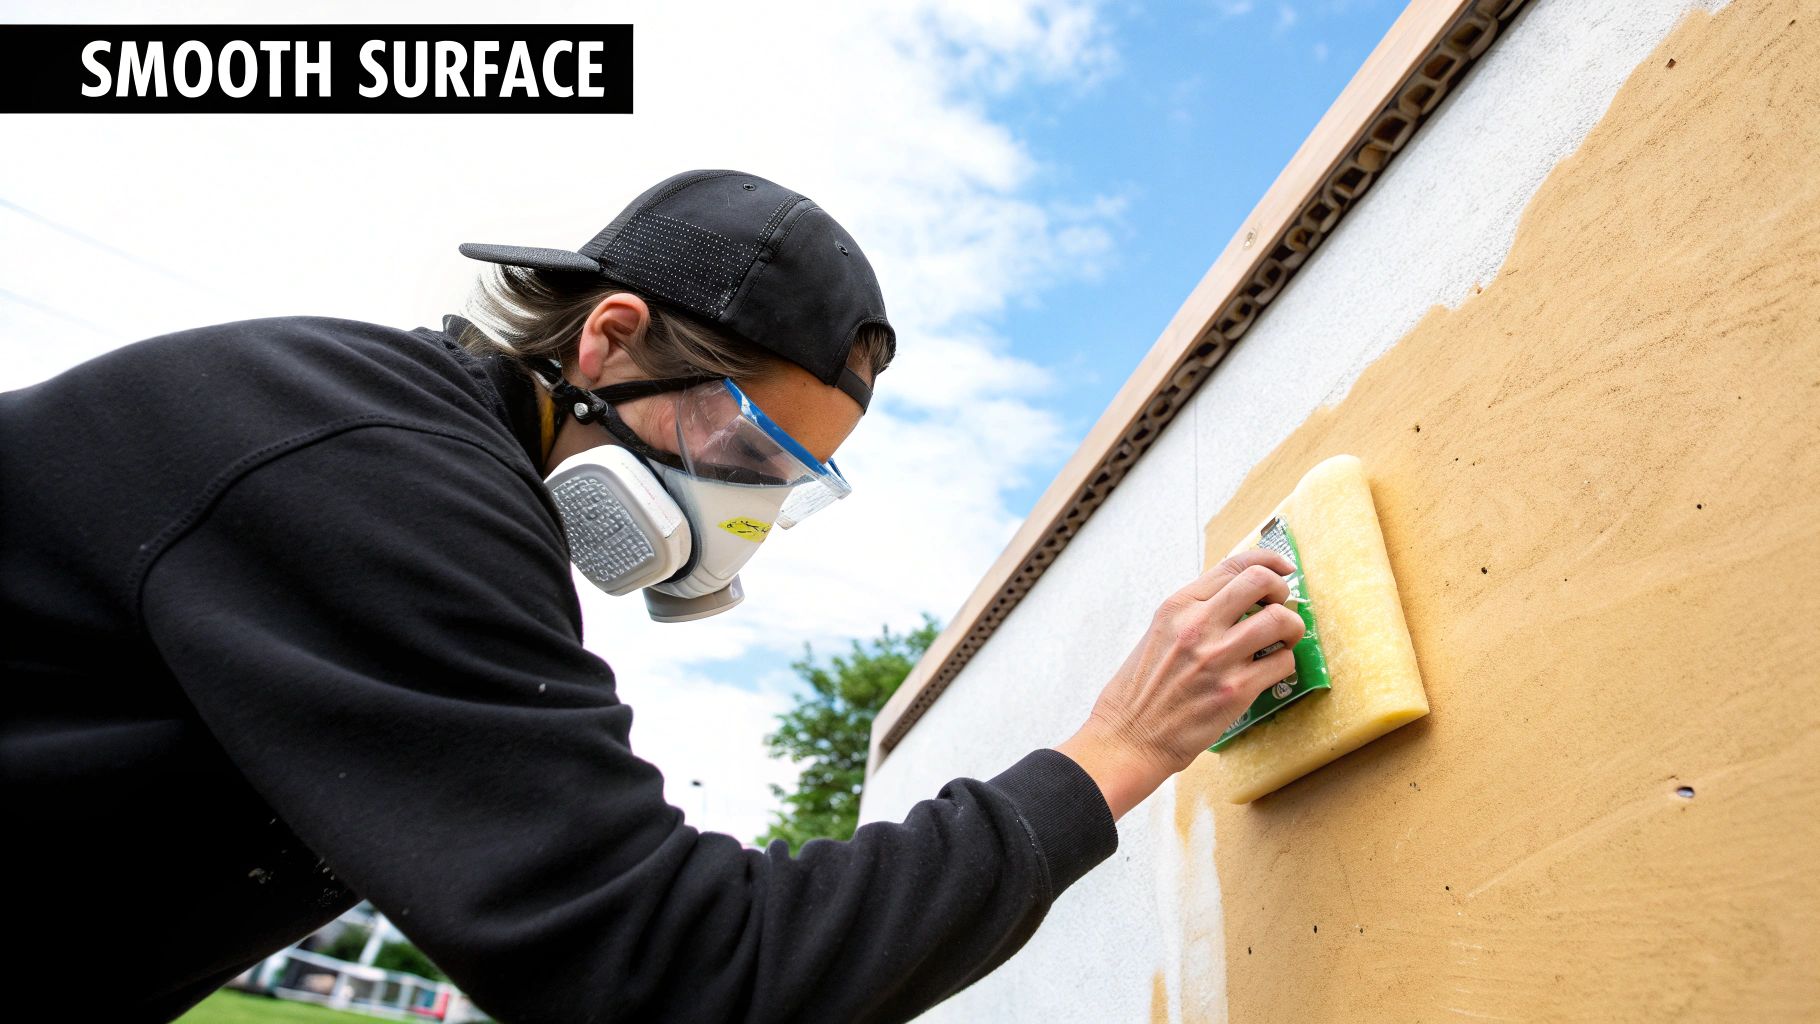
For smooth plaster walls, you don't need to go in with anything too aggressive. A fine-grit paper (around 120-150 grit) is perfect for the job. The goal is to smooth out repairs and dull the existing paint, not strip it back to the plaster.
I always recommend using a sanding block. It helps you apply even pressure and avoid creating dips or grooves in the wall. Work in gentle, circular motions, paying special attention to your filled areas. You want to feather the edges until you can't feel a transition between the patch and the wall.
To manage the inevitable dust, wear a mask and open a window. Here's a good tip: hold a vacuum cleaner nozzle near where you're sanding. It'll catch most of the fine particles before they have a chance to settle on everything in the room.
Demystifying The Priming Process
Once your walls are smooth and completely dust-free, it's time for primer. Primer is the unsung hero of any great paint job. It seals the surface, ensures the paint absorbs evenly, and provides a neutral base so your final colour looks true and vibrant.
This is especially important when painting over filled patches. Filler is far more porous than the surrounding wall and will otherwise suck up paint like a sponge, leaving a dull, patchy spot that stands out like a sore thumb.
Choosing the right primer is key:
Standard Primer-Sealer: This is your go-to for most situations, like painting over an existing colour or sealed patches.
Stain-Blocking Primer: An absolute must-have for covering stubborn marks. Think water stains, nicotine, or that dark crayon masterpiece your toddler created. Without it, those stains will just bleed right through your expensive topcoat.
New Plaster Primer: Fresh plaster is extremely absorbent. It needs a special primer or a thinned-down emulsion called a 'mist coat' (typically a 70/30 mix of paint to water) to seal it properly before you can paint.
Applying primer correctly ensures your topcoat goes on smoothly and delivers a rich, consistent colour. It prevents "flashing"—that patchy effect you see when light hits the wall—and can even reduce the number of topcoats you need, saving you time and money in the long run.
Apply the primer just as you would your final paint coat. Use a roller for the large areas and a brush for cutting in around the edges and corners. Always let it dry completely according to the manufacturer's instructions—don't rush it.
If you’re unsure which primer is best for your specific walls, or if all this prep work feels a bit daunting, our in-house services are always available to see you through to a perfect result.
Right, you’re on the home stretch. The messy jobs of cleaning, patching, and priming are behind you. This final stage is all about precision—the last few checks and careful taping that really separate a decent paint job from a flawless, professional one. This is where you get those razor-sharp lines.
Before you even think about grabbing the painter's tape, do one last physical check of the walls. Seriously, close your eyes and run your hand over the entire surface. Your fingertips are surprisingly good at finding tiny imperfections your eyes might miss, like a rough spot from sanding or a stray bit of dust. Think of it as your final quality control inspection.
After that, give the walls one final wipe-down. This is non-negotiable. Grab a tack cloth—it’s a special, slightly sticky cloth designed for this exact purpose—and lightly go over every surface. It’ll pick up any fine dust that has settled, giving you the cleanest possible canvas for the paint to grip onto.
Mastering Painters Tape for a Professional Edge
Painter's tape is your secret weapon for getting crisp, clean edges along skirting boards, ceilings, and around window and door frames. But not all tapes are created equal, and using the wrong one is a fast track to fuzzy lines and paint bleed.
Low-Tack Tape (often blue or green): This is your go-to for delicate surfaces. Think freshly painted walls (that have cured for at least 24 hours) or wallpaper. It comes off easily without pulling up what’s underneath.
Medium-Tack Tape (often yellow): A great all-rounder for surfaces that can handle a bit more stick, like cured paint, wood trim, glass, and metal. It’s got a stronger hold to prevent bleeding on less sensitive areas.
Speciality Tapes: You'll also find tapes made specifically for tricky surfaces like textured plaster or for getting super-sharp lines on rough wood.
When you're applying the tape, work in short, overlapping sections. Don't try to run one long, continuous strip—you’ll have much more control and get a straighter line this way. Once the tape is down, take a flexible putty knife or even a credit card and run it firmly along the edge you'll be painting against. This one simple move is the absolute best trick for creating a tight seal and stopping paint from seeping underneath.
The perfect time to remove painter's tape is while the paint is still slightly wet but dry to the touch—usually within an hour of applying your final coat. If you wait until the paint is completely dry, you risk it forming a film over the tape. When you pull the tape off, you could peel chunks of your new paint away with it, ruining that perfect line.
The Final Pre-Paint Ritual
With your taping done, take one last look around the room. Check that your dust sheets are still properly secured and that you have a clear, safe path to move around. This is your final checkpoint.
If you’ve followed these steps properly, you’ve done the hard work and created the perfect canvas. For projects where you need an absolutely flawless finish or simply want an expert to handle it all, our in-house services are here to take the job from preparation through to the final brushstroke, guaranteeing a perfect result every time.
Your Wall Preparation Questions Answered
Even with the most detailed guide, questions always crop up when you’re knee-deep in a project. Getting these details right is what separates a decent paint job from a flawless, professional finish. Let's tackle some of the most common queries we hear from people learning how to prepare walls for painting.
First up, the big one: is priming really necessary over existing paint? In many cases, the answer is a firm yes. If you're planning a dramatic colour change—say, covering a dark, moody feature wall with a light, airy neutral—a good primer is your best friend. It stops the old colour from bleeding through and gives you a true, even base for the new shade.
Priming is also non-negotiable if you're painting over glossy or satin finishes. That sheen means the surface has very little "grip," and new paint can easily peel or scratch off. A primer creates a bond, ensuring your topcoat adheres properly. The same goes for any repaired patches; primer seals the filler so it doesn't soak up paint differently from the rest of the wall.
Common Preparation Challenges
What’s the best way to clean greasy kitchen walls before painting? Kitchens are tough. Years of cooking can leave a stubborn film of grease that regular sugar soap just won’t shift. For this, you need to bring in a dedicated degreasing cleaner, sometimes sold as a TSP (trisodium phosphate) substitute. Our in-house services can see to this for you.
Work it into the surface with a sponge, giving it a decent scrub, and then—this part is crucial—rinse it all off with a separate, clean, damp cloth. Let the wall dry completely before you even think about picking up a sander or a paintbrush.
How long should I wait for filler to dry before sanding? This really comes down to three things: the type of filler you used, how deep the hole was, and the humidity in the room. A lightweight filler for tiny nail holes might be ready to sand in 30 minutes. But for deeper gouges repaired with a multi-purpose filler, you could be looking at 24 hours for it to cure fully.
Don't guess. Always check the manufacturer's instructions on the packaging for the most accurate drying times. Rushing this step will just clog your sandpaper and leave you with a soft, uneven patch.
Getting these details right is what separates an amateur job from a professional one. With a growing UK home improvement sector, the standards for a quality finish are higher than ever.
It’s clear homeowners are valuing a job done right. The demand has led to a huge number of professional services popping up. In fact, there are now approximately 13,093 painting businesses in the UK, which is a 3.0% increase from the previous year.
This focus on quality is a cornerstone of any successful home makeover. You can find more practical guidance in our renovating a house checklist with essential steps for 2025.
When a project feels too big or you simply want to guarantee a perfect, professional finish, the experts at Hallmoore developments are here to help. Our in-house services cover every aspect of your renovation needs. https://www.hallmoore.co.uk
Comments