.png)
How to Repair Cracked Ceiling Plaster Like a Pro
- Dan Hall
- Sep 2, 2025
- 13 min read

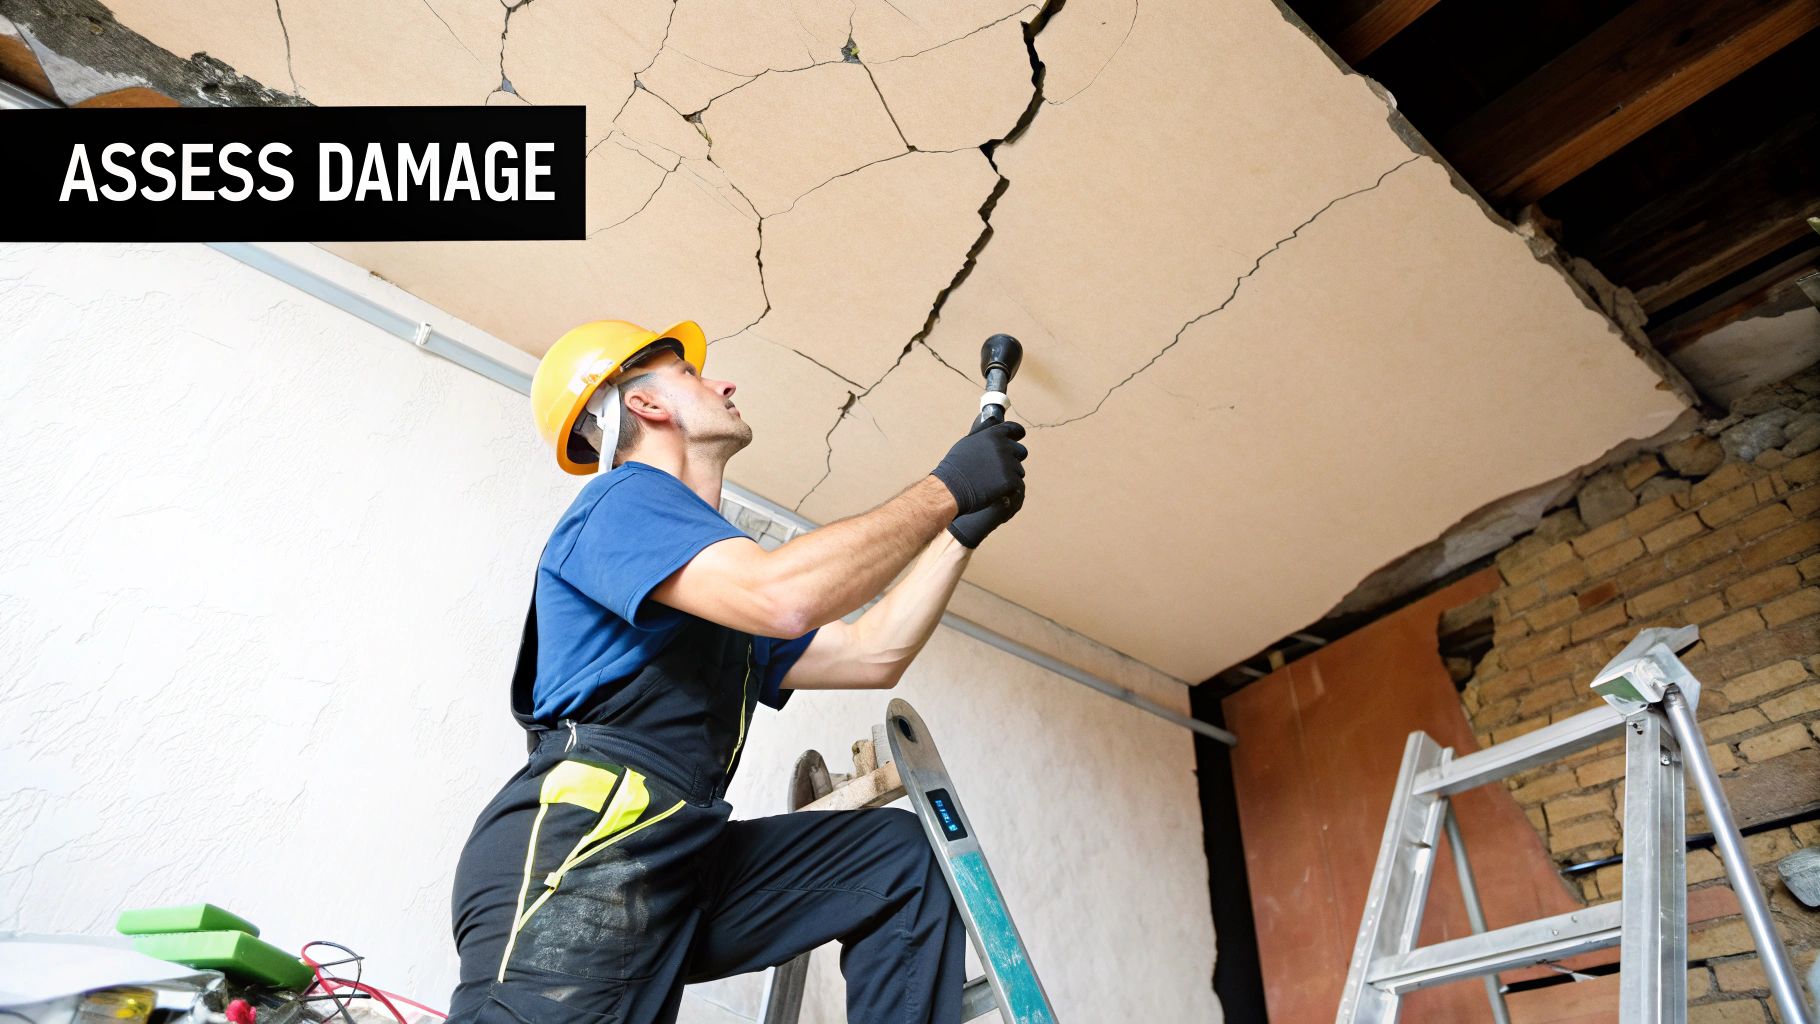
Before you even think about learning how to repair cracked ceiling plaster, you need to play detective. A lasting fix isn’t just about slapping on some filler and calling it a day. It’s about figuring out why that crack appeared in the first place, otherwise, you'll just be watching it reappear a few months down the line. To see to this properly, sometimes you need a professional eye, and our in-house services are always available to help diagnose and resolve the issue for good.
Why Your Ceiling Plaster is Cracking
That unsettling line snaking across your ceiling can be caused by anything from the completely harmless to something needing urgent attention. Getting to the bottom of it is the single most important step in any successful repair.
Often, those fine, spiderweb-like cracks are just a sign of your home ageing gracefully. Houses settle over time, and these minor shifts can create small fractures in the plaster. In most cases, they're purely cosmetic and nothing to lose sleep over.
Common Culprits Behind Cracked Plaster
Big swings in temperature and humidity are another classic cause. Just like the timber frame it’s attached to, plaster expands and contracts with the seasons. This constant, subtle movement often leads to hairline cracks, especially in older properties with traditional lath and plaster ceilings.
But not all cracks are so innocent. Water damage is a massive red flag that you should never ignore. A slow leak from a pipe or a problem with your roof can saturate the plaster from above, causing it to weaken, sag, and eventually crack. These cracks usually come with tell-tale discolouration or a damp patch, which demands an immediate investigation. If you suspect moisture is the culprit, our guide on how much damp proofing costs can give you an idea of what’s involved, but for a definitive solution, you should see to our in-house services for a professional assessment.
Assessing the Severity and Cost
The crack itself tells a story. A single, straight hairline crack is far less concerning than a jagged one that travels across the ceiling and continues down a wall. The latter could hint at a more serious structural issue.
To help you get a better idea of what you might be dealing with, here's a quick reference table.
Diagnosing Common Ceiling Cracks
Use this quick guide to identify the type of crack in your ceiling and understand its likely cause.
Crack Appearance | Likely Cause | Recommended Action |
|---|---|---|
Fine, spiderweb-like cracks | Natural settlement, minor plaster shrinkage | Monitor. If stable, it's usually a cosmetic DIY fix. |
Straight hairline crack | Plasterboard joint movement, seasonal expansion | Typically a cosmetic fix. Can be filled and repainted. |
Crack with yellow/brown stains | Water damage from a leak (roof, pipe) | Investigate immediately. Find and fix the source of the leak before repairing the plaster. See to our in-house services for expert help. |
Large, jagged crack (over 3mm wide) | Significant structural movement or foundation issues | Call a structural engineer. This is not a DIY job. See to professional help. |
Crack accompanied by a sagging ceiling | Water damage or failing plaster adhesion | Urgent. The ceiling could be at risk of collapse. See to our professional in-house services immediately. |
Remember, this is a guide, and if you're ever in doubt, getting a professional opinion is the safest bet.
The critical distinction is between a simple cosmetic flaw and a symptom of a deeper problem. If a crack is wider than a 10p coin, seems to be getting bigger, or is part of a sagging ceiling, it's time to put down the tools and see to professional help.
Deciding whether to tackle the job yourself or bring in an expert comes down to the severity of the damage and your own confidence. Minor, stable cracks are perfect for a DIY approach. But for anything larger, especially if you suspect water or structural damage, our in-house services can provide a reliable, professional solution.
In the UK, you can expect a professional plasterer's day rate to be around £150 to £200. Re-plastering a whole ceiling might range from £200 for a small room to over £725 for a large one, with water damage repairs costing significantly more. For a broader look at professional pricing, Checkatrade.com offers some great insights into UK ceiling repair costs.
Your Essential Toolkit for Plaster Repair

Walking into a DIY store can feel a bit much, but knowing exactly what you need turns a chore into a mission. Having the right gear on hand is the difference between a frustrating mess and a smooth, professional-looking repair you can be proud of. This isn’t just a shopping list; it’s your roadmap to making smart choices that will pay off when you see the finished wall.
Before you even think about how to tackle that cracked ceiling plaster, let's talk safety. Plaster dust is incredibly fine and can be nasty if you breathe it in, so don't cut corners here.
Dust Mask: An FFP3-rated mask is non-negotiable. It’s what you need to protect your lungs from fine plaster and sanding dust.
Safety Goggles: Protect your eyes from falling debris, especially when you're working overhead. It only takes one stray fleck.
Dust Sheets: Good quality, thick sheets are your best friend. They will save you hours of cleaning up afterwards.
Choosing Your Repair Materials
Next up, the stuff that will actually fill the crack. Your choice really depends on the size and type of crack you're dealing with.
For those fine, spidery hairline cracks, a lightweight, ready-mixed filler is often all you need. It’s a doddle to apply and sands down beautifully smooth.
But for wider or deeper cracks, you'll need something with more substance. A powdered interior filler that you mix yourself provides a much stronger, more durable repair. It takes a little more effort, sure, but it’s far less prone to shrinking and cracking as it dries.
The secret to a long-lasting fix for more significant cracks? Jointing tape. A self-adhesive fibreglass mesh tape is incredibly effective at bridging the gap and reinforcing the plaster, stopping that same crack from reappearing down the line.
Tools for Application and Finishing
Finally, you need the right tools to apply these materials and get that invisible finish. You don't need a massive collection, just a few key items that make the job much easier and give you a better result.
Filling Knife: A flexible steel blade is perfect for pressing filler deep into the crack and getting it flush.
Plastering Trowel: For larger repairs, a small trowel helps you apply and smooth the plaster evenly across the surface.
Sanding Block: Using a sanding block with fine-grit sandpaper (around 120-grit) gives you a much flatter, smoother finish than just using a sheet of paper by hand. It’s a game-changer.
If tackling this yourself feels like a bit much, remember that you should see to our in-house services to ensure a perfect, stress-free result.
Prepping the Surface for a Lasting Fix
A flawless plaster repair is only as good as its foundation. This is the bit everyone rushes, and honestly, it’s the number one reason cracks reappear a few months down the line. Taking the time to prep the surface properly isn’t just a preliminary step; it’s the most important part of learning how to repair cracked ceiling plaster for a finish that actually lasts.
Think of it like trying to paint a dusty wall—the paint won’t stick properly, and the end result will be a mess. It's the exact same principle here. Fresh plaster needs a clean, stable, and slightly keyed surface to grab onto permanently. Without this, your repair is pretty much destined to fail.
Opening Up the Crack
It might feel a bit backwards, but the first thing you need to do is make that crack slightly bigger. Get the corner of a scraper or a sharp utility knife and carefully rake along the length of the crack. You're aiming to create a V-shaped groove. This widens the opening and, more importantly, gets rid of all the crumbly, loose plaster that’s just waiting to ruin your repair.
This V-shape is absolutely crucial for two reasons:
It gives the new plaster a much larger surface area to adhere to.
It lets you really force the filler deep into the crack, creating a proper mechanical bond that won't budge.
A shallow skim over the top is just a temporary patch-up. A deep fill is a permanent fix. Once you've opened the crack up, use a stiff brush or a vacuum cleaner with a nozzle attachment to get every last bit of dust and debris out of that groove.
A classic mistake is not getting all the loose stuff out. If you slap new plaster over a dusty, unstable base, it’s like building a house on sand—it will inevitably shift and crack all over again.
This visual guide breaks down the simple, step-by-step process for getting the surface prep spot on.
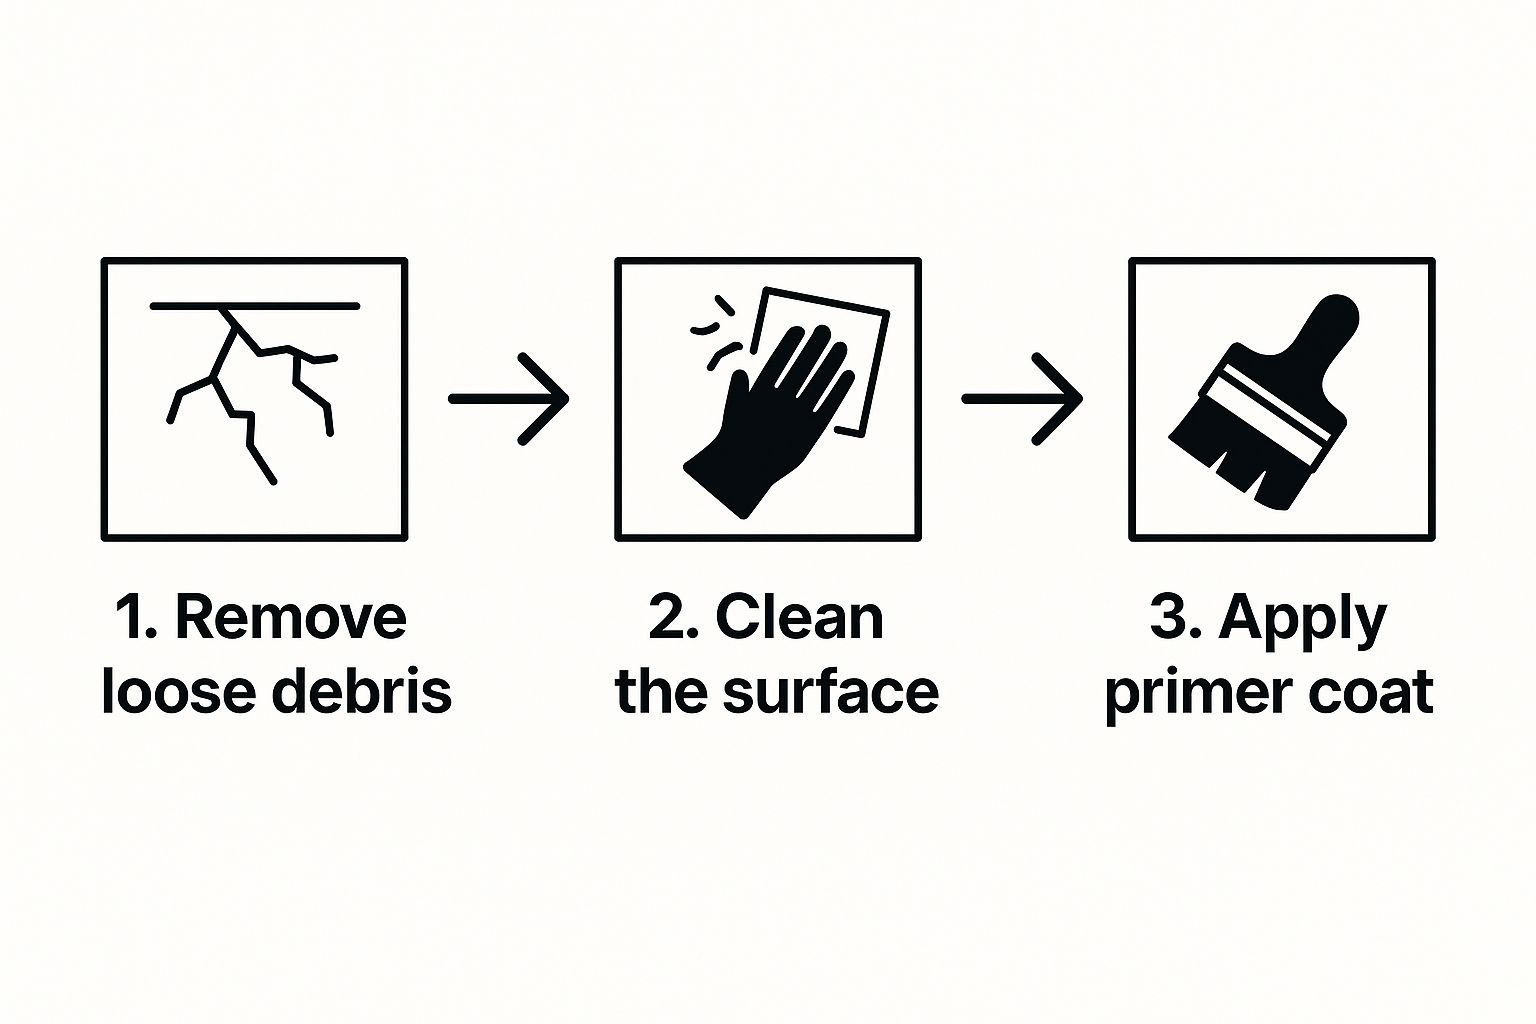
As you can see, a solid repair is all about systematically removing the weak points to create the perfect surface for the new plaster to bond with.
Sealing for Ultimate Adhesion
Once the crack is clean and clear, the final prep step is to seal the exposed area. Old, dry plaster is incredibly thirsty and will suck the moisture straight out of your new filler far too quickly. This rapid drying makes the filler shrink and crack as it cures, undoing all your hard work.
To stop this from happening, you need to prime the surface. A coat of stabilising solution or a diluted PVA glue mix (a good rule of thumb is one part PVA to four parts water) brushed into the groove and around the edges does the trick. This seals the porous surface, slows down the suction, and creates a tacky key for the new plaster to grip onto. Just let it dry until it feels tacky to the touch before you start filling.
This is a vital step that often gets skipped, but it’s what ensures your repair will be strong, stable, and completely seamless with the rest of the ceiling. If all this prep work sounds a bit much, you can see to our in-house services to handle the job from start to finish, guaranteeing a perfect result every time.
Applying Plaster for a Seamless Finish

With all the prep work behind you, it’s time for the most satisfying part—making that ugly crack vanish for good. Applying plaster is a bit of an art, but it’s one you can definitely get the hang of. The aim is a perfectly smooth, invisible repair that melts right into the surrounding ceiling.
The real secret to a strong, lasting finish is the consistency of your plaster mix. You're looking for a smooth, thick paste, almost like buttercream icing. If it’s too runny, it’ll just sag and won't fill the gap properly. Too thick, and you’ll have a nightmare trying to apply it smoothly.
Mixing and Your First Application
Always start by adding the plaster powder to a small amount of clean, cold water—never the other way around. Trust me on this one; it’s a simple trick that helps you avoid lumps and gives you way more control over the final texture. Mix it thoroughly until you have a smooth, lump-free paste.
Once your plaster is ready, grab a filling knife and press the first layer firmly into the V-shaped groove you cut out earlier. The key here is to apply decent pressure. You really want to force the plaster deep into the crack to create a solid bond with the existing ceiling.
Don’t get hung up on a perfect finish with this first coat. The main job is to fill the crack completely. Scrape off any excess, leaving the surface just a little concave. This layer is the solid foundation for the finishing coats to come.
Reinforcing with Jointing Tape
If you're dealing with anything more than a hairline crack, reinforcing the repair is non-negotiable if you want to stop it from coming back. Self-adhesive fibreglass jointing tape is your best friend here. While the first layer of filler is still wet, cut a piece of tape to size and press it firmly over the crack.
Straight away, apply a thin second coat of plaster directly over the tape, using your trowel to fully embed it. This technique, which pros call "bedding in," creates a reinforced bridge over the crack. It adds a huge amount of strength and flexibility, preventing any future movement from showing through.
Knowing how to repair cracked ceiling plaster properly often means borrowing techniques from the professionals. The UK plastering industry is a major part of our residential construction sector, valued at around £2.1 billion. While the market sees its ups and downs, household maintenance like this is a cornerstone for tradespeople. It just goes to show how important it is to get these steps right. For a bit more insight, you can read about the UK plastering market and its trends.
Building Up Layers for a Flawless Finish
The golden rule of plastering? Work in thin layers. Slapping on one thick, heavy coat is a recipe for disaster—it will almost certainly shrink and crack as it dries. Your best bet is to build up the repair with two or three thin coats, letting each one dry completely before starting the next.
For each new layer, switch to a wider trowel or filling knife to feather the edges further out from the centre of the repair. This gradual tapering is what makes the patch disappear into the rest of the ceiling. For the final coat, use a slightly wetter mix to help you achieve that ultra-smooth, professional-looking finish.
To keep you on track, here’s a quick checklist that breaks down the key actions for getting that perfect finish.
Plaster Application and Finishing Checklist
This table is a handy summary to make sure you nail every stage of the application and finishing process.
Stage | Key Action | Pro Tip |
|---|---|---|
Mixing | Add plaster to water, not water to plaster. | Aim for a smooth, thick paste—like buttercream icing. |
First Coat | Press plaster firmly into the V-groove. | Focus on filling the crack completely, not on smoothness. |
Reinforcing | Apply jointing tape while the first coat is wet. | Immediately "bed in" the tape with a thin second coat. |
Building Layers | Apply 2-3 thin coats, allowing each to dry. | Each layer prevents shrinkage and cracking. |
Feathering | Use a wider tool for each subsequent coat. | This helps the patch blend invisibly with the ceiling. |
Final Coat | Use a slightly wetter mix for the last layer. | This makes achieving an ultra-smooth surface much easier. |
Following these stages methodically is your best route to a repair that you'll forget was ever there.
If this all feels a bit daunting, don't worry. Our in-house services are always here to step in and make sure you get that perfect, professional finish without any of the stress or mess.
Painting Your Repaired Ceiling Flawlessly
This is it—the final step that makes all your hard work disappear. After carefully preparing the surface and applying the new plaster, the last coat of paint is what blends the repair into the ceiling, making it completely invisible. It's not just about slapping some paint over the patch; it's about creating a truly seamless, professional finish.
Now, you can't just paint directly onto that fresh plaster. It's incredibly porous, like a dry sponge. If you try, it will suck the moisture out of the paint almost instantly, leaving you with a patchy, uneven mess. Worse still, it can lead to bubbling or peeling down the line. To get it right, you need to start with a mist coat.
The All-Important Mist Coat
A mist coat is your secret weapon. It’s a thinned-down emulsion paint that acts as a primer, sealing the new plaster so the top coats can adhere properly and evenly. Making one yourself is simple and saves you buying a separate product.
Here’s the straightforward formula for a perfect mist coat:
The Mix: Just combine three parts standard emulsion paint with one part water.
Application: Give it a thorough stir until it's smooth and has a thin, milky consistency. Apply one even layer over the entire repaired patch and let it dry completely.
This quick step is non-negotiable. It guarantees your final paint job has a uniform colour and sheen, making that repair vanish for good.
Think of painting directly onto fresh plaster like trying to water a bone-dry plant with a thimble—the water disappears instantly without nourishing the plant. A mist coat properly quenches the plaster's thirst, creating the perfect canvas for your top coat.
Once your mist coat has fully dried, you’re ready for the main event. For ceilings, a matte or flat-matte emulsion is almost always the best choice. These non-reflective paints are brilliant at hiding minor imperfections, which is exactly what you want when blending a repair. Use a medium-pile roller to get a smooth, consistent texture across both the old surface and your new patch.
Achieving a Professional Finish
The key to a streak-free ceiling is to apply paint in a consistent pattern. I find rolling in a 'W' or 'M' shape helps distribute the paint evenly before you fill in the gaps. Let the roller do the work—don't press too hard, or you’ll leave track marks.
For those crisp, clean lines where the ceiling meets the walls, you need to master ‘cutting in’. Grab a good-quality 2-inch angled brush and paint a neat border around the ceiling's perimeter. Do this before you start rolling to avoid accidentally painting the walls. Taking your time here pays off massively in the final look. If you want more tips on getting that perfect paint job, we’ve got a whole guide on how to prepare walls for painting like a pro.
If painting overhead isn’t your cup of tea or you just want to guarantee a perfect colour match and flawless finish, you should see to our in-house painting and decorating services. We can take care of the entire process, ensuring your ceiling looks as good as new.
When Your Ceiling Needs a Professional
Knowing how to patch up a cracked ceiling is a brilliant skill to have, and there's a real sense of satisfaction in a successful DIY fix. But it’s just as important to know when to put the tools down and call in an expert. Recognising your limits isn’t a failure; it’s a smart move that will save you a world of time, money, and hassle down the line.
Some warning signs are simply too big to ignore. If you're looking at a crack that’s wider than 3-4mm, seems to be getting bigger, or travels right across the ceiling and down a wall, it’s time to pause. Cracks like these often signal deeper structural movement that a bit of filler just can’t fix.
Spotting the Red Flags
A sagging or bulging ceiling is another major red flag. This almost always points to something serious, like a major water leak that’s wrecked the plaster's integrity or, worse, a problem with the ceiling joists themselves. Ignoring this could turn a simple repair into a full-blown ceiling collapse and a massive reconstruction job.
Likewise, those stubborn cracks that just keep coming back, no matter how many times you fix them, are telling you something. It usually means the root cause—whether it’s movement, moisture, or just shoddy original work—hasn't been dealt with. A professional can get to the bottom of the why and give you a permanent solution. For any of these issues, you should see to our in-house services to get an expert on the job.
The decision to call a professional often comes down to one question: is this crack just cosmetic, or is it a symptom of a bigger problem? If there's any doubt, especially concerning structural integrity or water damage, getting an expert opinion is the safest and most effective choice.
The Benefits of Calling in the Pros
While DIY can be cheaper for small jobs, professionals bring experience, speed, and access to the right materials to ensure a durable, invisible repair. They know the ins and outs of different plaster types and can guarantee a finish that blends seamlessly with your existing ceiling.
If you even suspect the damage is extensive, it's worth considering professional construction and repair services to find a qualified contractor who can give you an honest assessment.
Understanding the potential costs helps, too. The price for professional plaster ceiling repair in the UK varies depending on where you are and how bad the damage is. For example, a few minor cracks might set you back around £200. However, a full re-plastering job can range from £7 to £12 per square metre, with labour adding between **£150 and **£250 per day.
Managing your project budget is key, and you can get a better idea of what to expect by reading up on UK home renovation costs in our complete guide.
If you've decided the job is bigger than you're comfortable with, or you simply want a guaranteed flawless finish, Hallmoore developments is here to help. Our in-house services provide fast, high-quality solutions, taking the entire project off your hands. Visit us at https://www.hallmoore.co.uk to learn more.
Comments